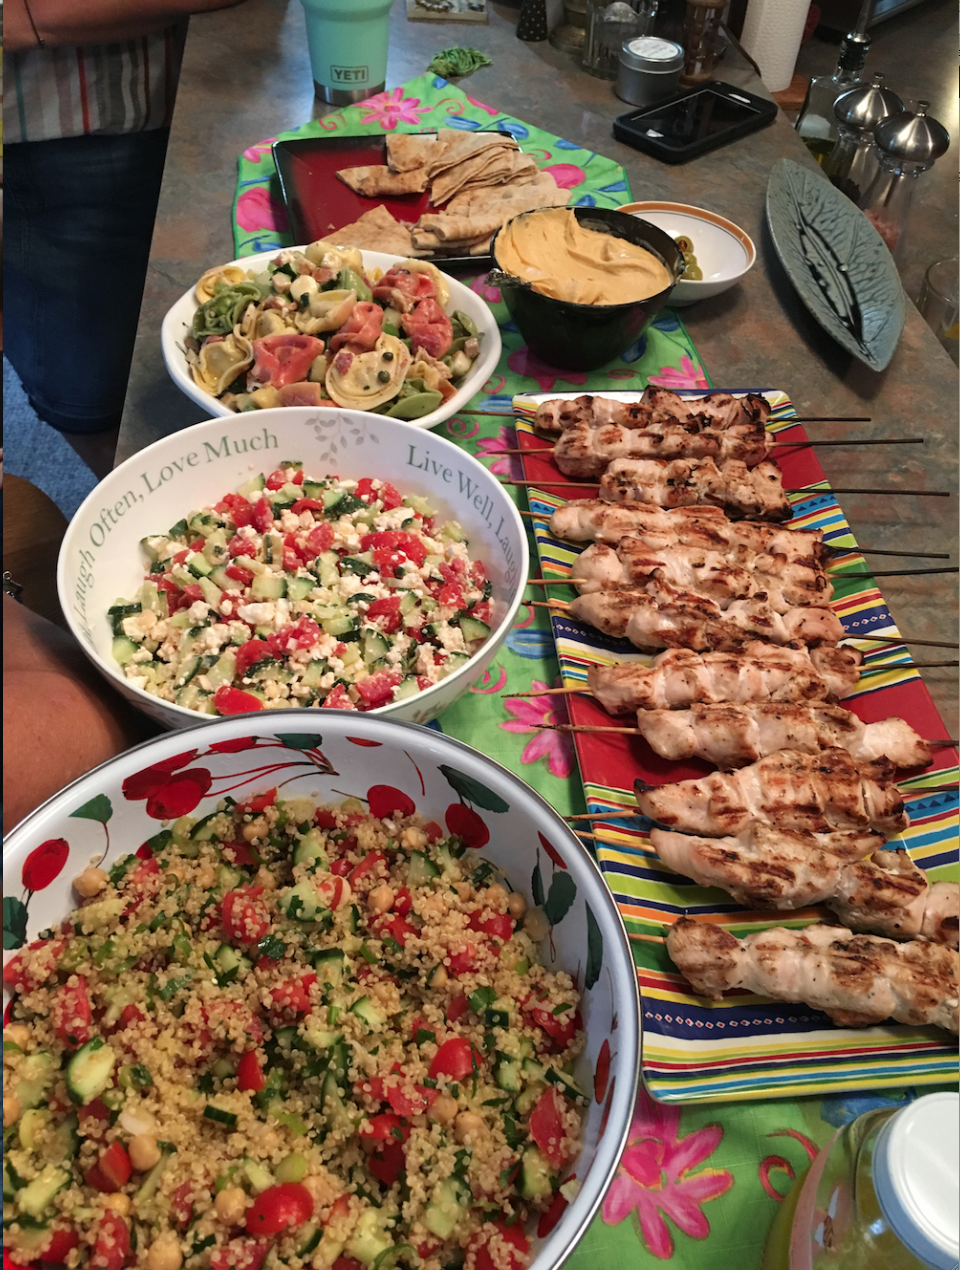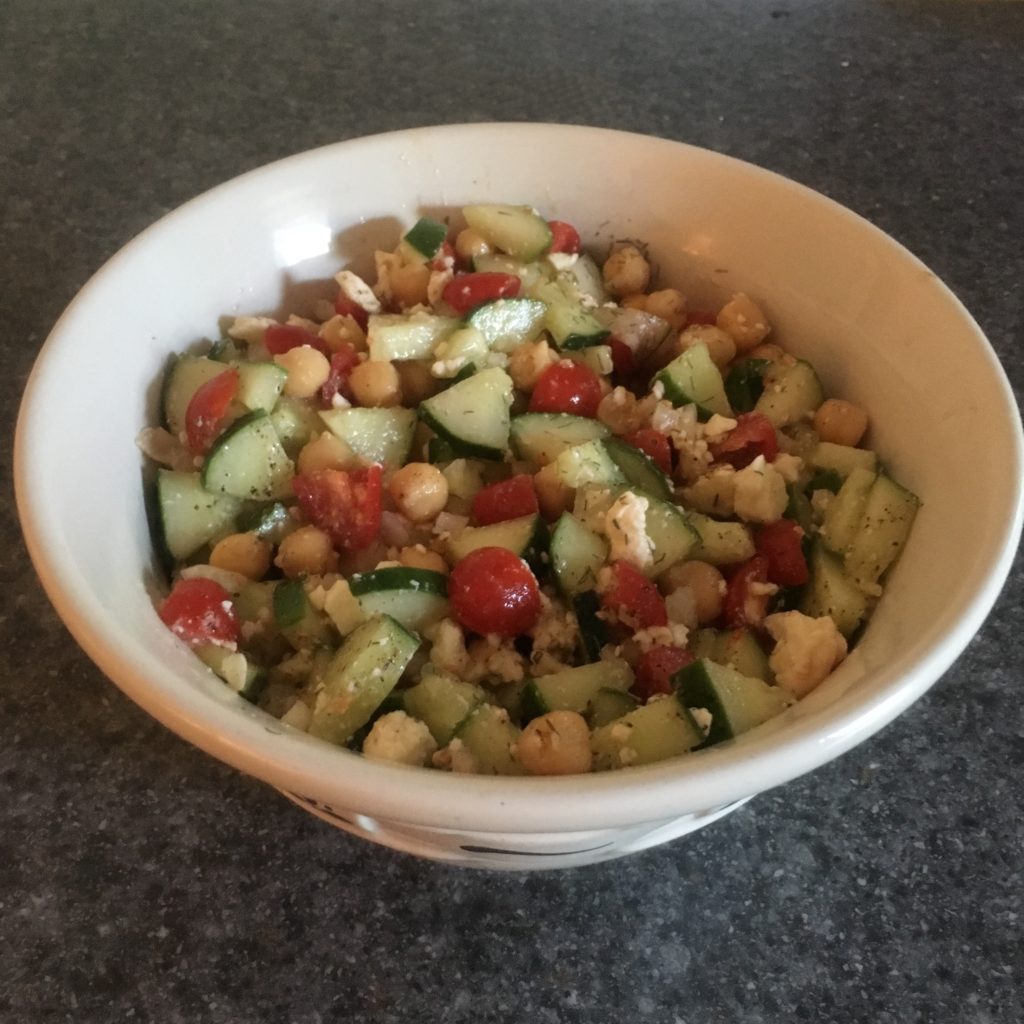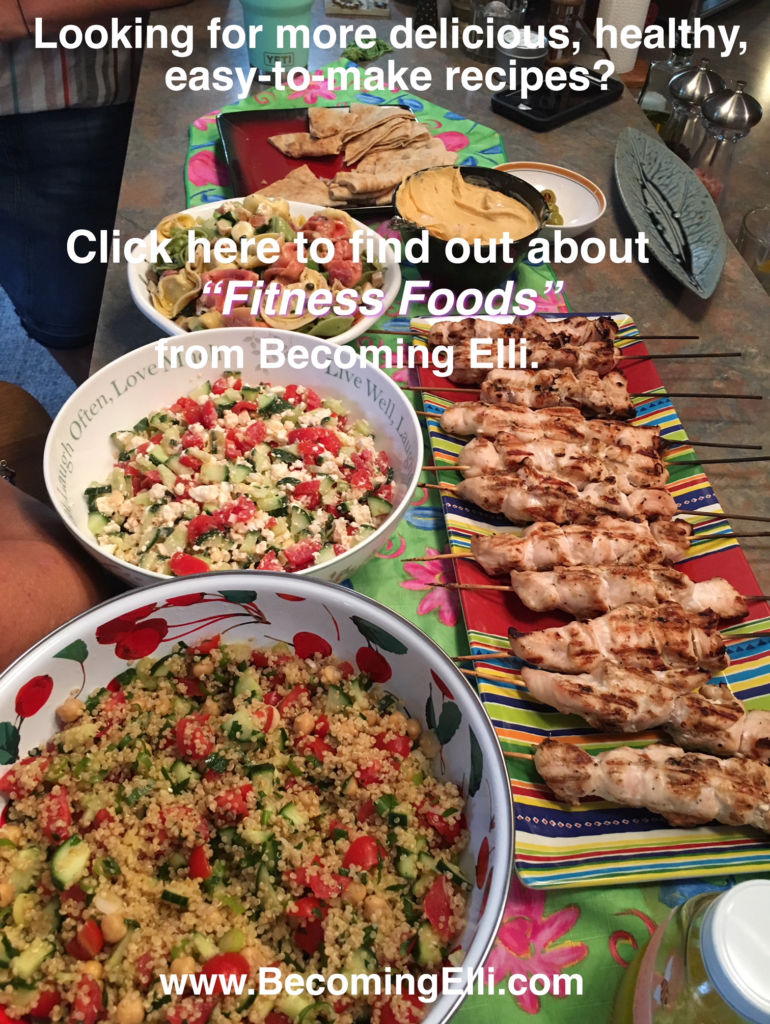
Last weekend I enjoyed a Mama Mia movie party with several friends. We had a delicious spread of various Mediterranean salads and chicken on the grill. I decided to recreate the cucumber feta tomato chick pea salad for a birthday party! Light, delicious, and easy to make – this is a guilt-free enjoyable salad that is stays fresh in the summer humidity. I find that I really enjoy salads that are based on more than just lettuce. – Chris
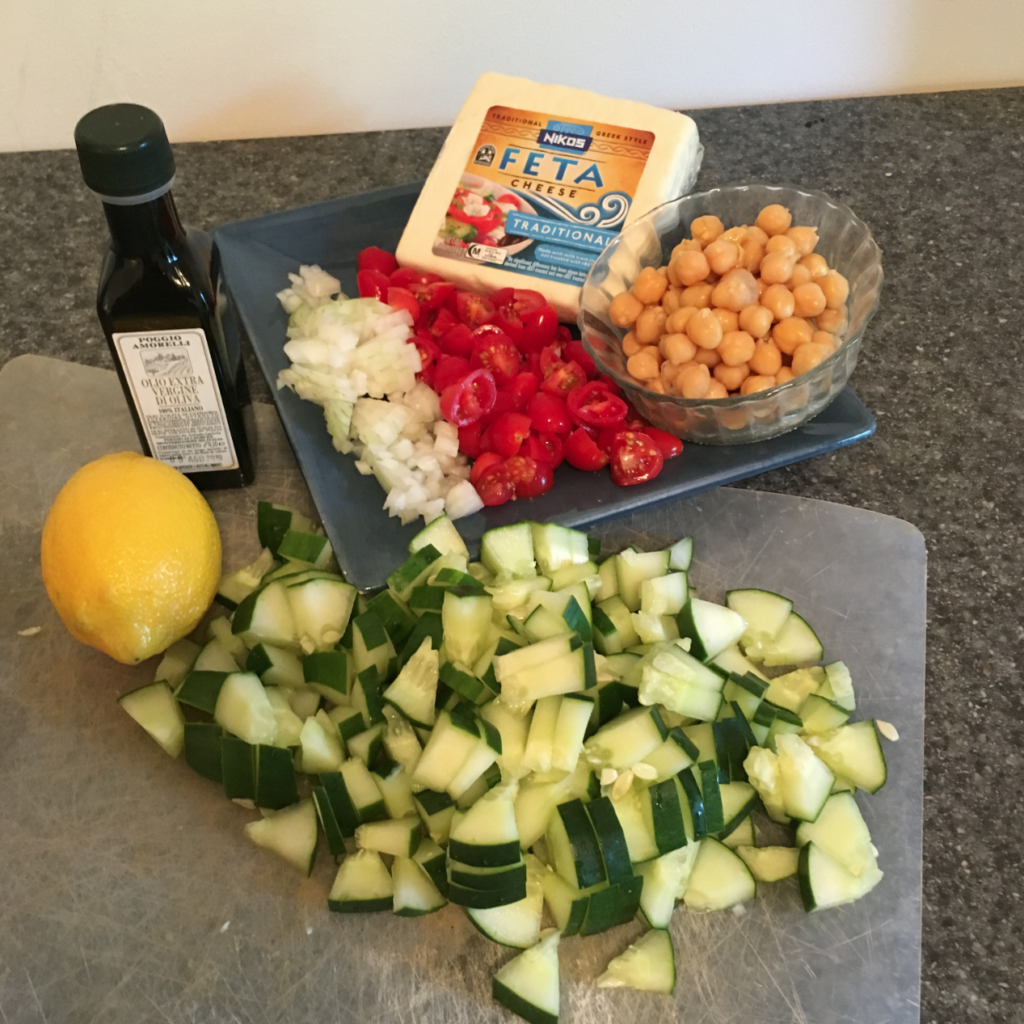
Ingredients:
cucumbers
chick peas
grape tomatoes
onions
feta cheese
Directions:
Wash outside of cucumber. Slice cucumber down the length into dill pickle sized spears. Cut into bit size pieces.
Open and drain chick peas (also known as garbanzo beans.) Pat dry before combining with other ingredients.
Slice grape tomatoes into quarters.
Dice onion.
Crumble the feta cheese into pieces smaller than the tomatoes.
Combine the ingredients gently.
Dressing:
Combine oil and lemon juice, salt and pepper together.
Pour dressing over salad and turn the ingredients several times to coat.
Notes:
I only used half of the package of feta cheese.You can modify the quantity of ingredients to match what you have on hand and to match your taste buds.
Refrigerate. Tastes great same day or a couple days later. Easy to make a day ahead of an event.
Some people might like to add olives (pitted and sliced) and parsley or cilantro to add more color and flavor.
Seedless cucumbers might be nice in this if you don’t care for cucumber seeds.
You may want to swap out white onions for a red onion or a sweet onion instead.
I’ve made this before using Roma tomatoes and even snuck in some celery to bulk it up with more vegetables.
This is a good choice for a salad that needs to sit out on a table during a picnic or an afternoon party because it has no ingredients that will spoil in the heat. I always avoid salads with mayonnaise (like potatoe salad or some pasta or cole slaws) at picnics… unless I know that they have been properly refrigerated or kept cool in ice. Nothing worse than an upset stomach from food that was left out too long.
Do you ever have a day when you are just not “feeling it?” When it is a struggle to stay positive, to stay on the healthy side of eating, or to stay on your workout schedule?
Ever had a day when the negative voices in your head comes up with lots of excuses and faulty reasoning?
Or a well-meaning comment from a friend or family member hits you wrong? In today’s podcast Jill and Chris talk through some situations where voices of doubt may creep in and impair your forward motion.
During this podcast, we discuss:
Innocent (or not so innocent) comments from strangers
Opinions and remarks by well intentioned family members
Why sometimes you are being your own worst enemy
How to counteract the negative voices
How Jill became a runner.
What Chris did to start riding longer distances on her bike
What got Jill started with her first steps in weight lifting
Why working out with a calendar, other people and progressing with the workouts helps
How strength training helps the tendons, ligaments, muscles and even bones.
During the past few years we have discovered why a community of like-minded women and listening to experts helps us to combat the negative voices. Why competition helps to get over negative voices. How keeping track shuts down the negative voices and replaces it with a positive affirmation.
While we were discussing ways to get past the negative voices, we talked about Mantras. (Positive thoughts or phrases like “I’m worth it!”)
Mantras can be very important and a lot of people – runners and other athletes – use mantras to keep themselves focused and moving.
We created a sheet of Mantras for Fitness. If you’ve ever struggled with motivation, you may want to download a free copy of Becoming Elli’s Mantras for Fitness. We’ll ask you for your name and email so you can receive Becoming Elli updates.
If you have a special affirmation or mantra that you’d like to share with the Becoming Elli community, please leave a comment below or send an email Chris or Jill and let us know!
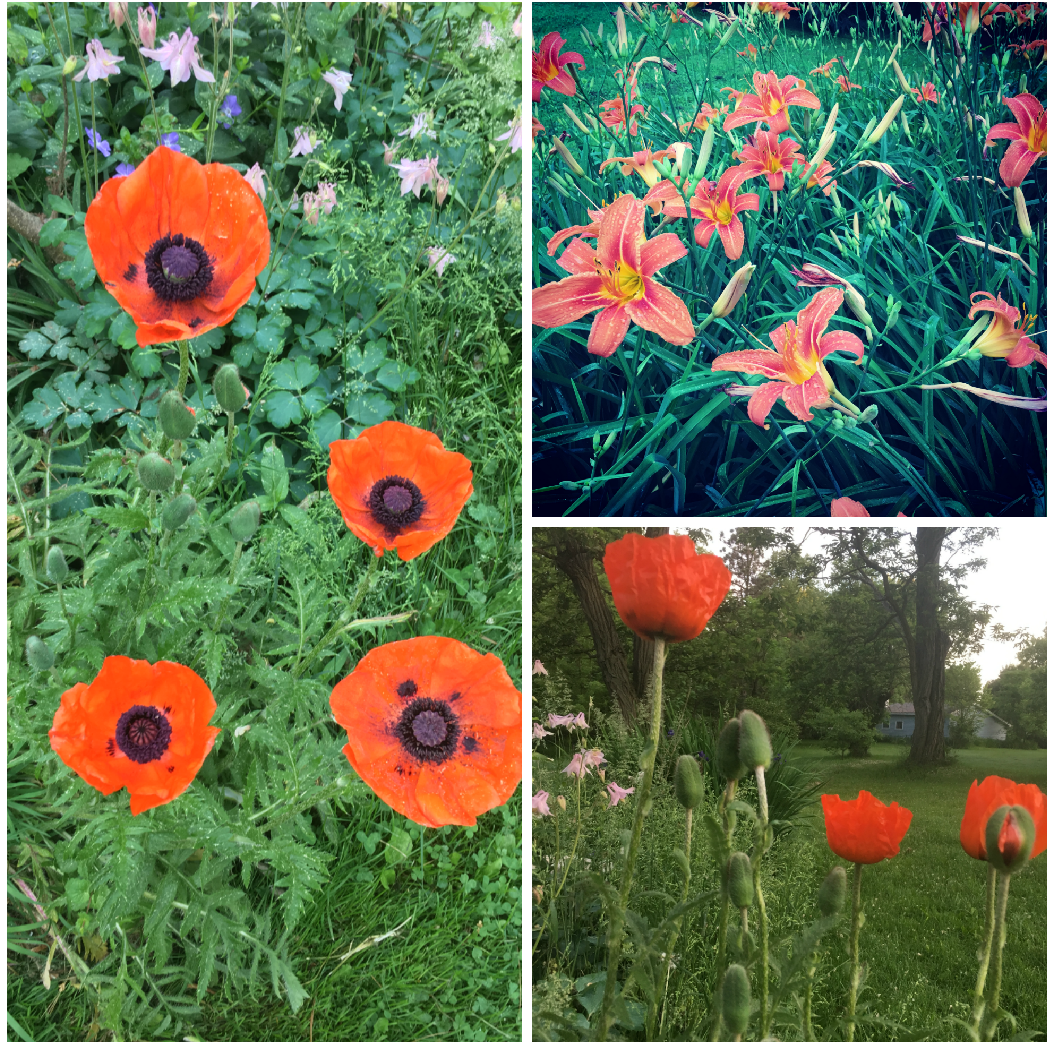
People who have known me for a long time, know that I love gardening.
Since I lost the weight and started exercising regularly, my gardening time is part of my “free time” that has been traded for exercise classes and bike rides. It is physically easier than it was 10 or 15 years ago. Gardening used to be my main form of exercise then and I would spend hours with my plants.
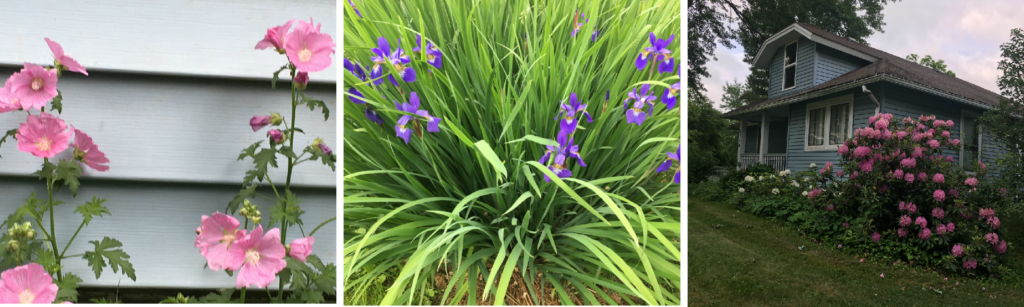
Hollyhock, Japanese Iris and Rhododendron
Perennials vs Annuals
Luckily, I planted perennials, which mean they come up year after year. They have beautiful flowers that bloom for just a week or two. The downside of perennials is that the beds need to be weeded. I prefer perennials over annuals. Annuals give color all season long, but they only last one season.
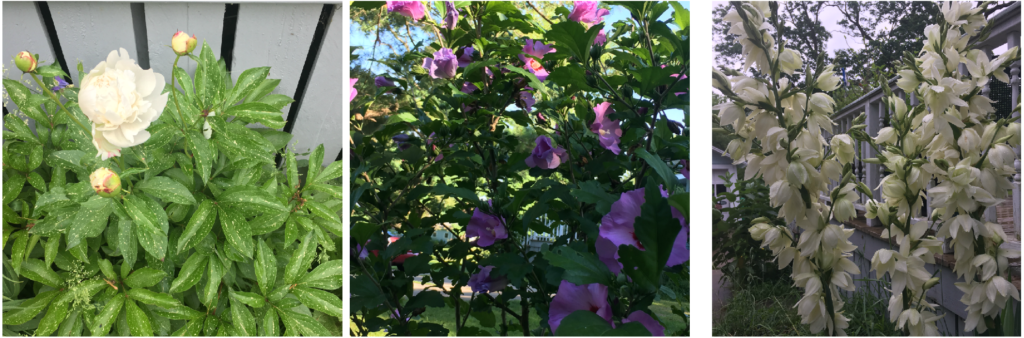
Peonies (with pine tree dust), Rose of Sharon tree and Yucca Plant
I am counting my fitness blessings and easier gardening is one that I am starting to take for granted. During my 40’s when I was gardening a lot more, it was hard to bend over, difficult to stay on my knees and much harder to get up again. Weeding my perennial plants and bushes got a lot easier in my 50’s after I lost weight and got more fit!
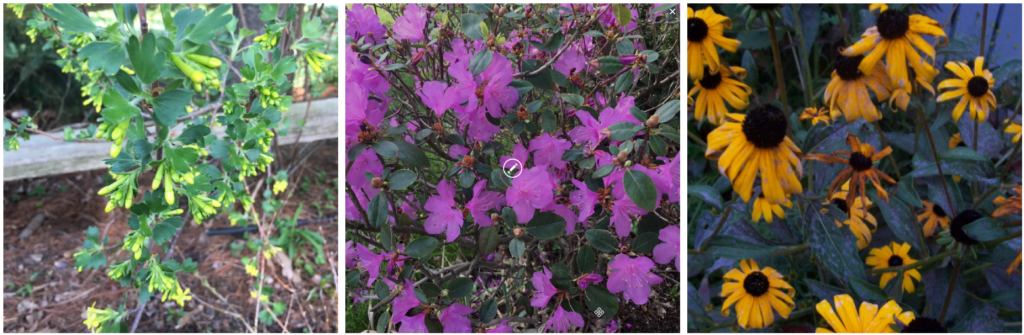
Spice bush, PJM bush and Black Eyed Susans
Seven ways gardening is much easier physically now that I am fit:
It is easier to bend
My knees don’t hurt
I can carry more weeds over to the compost pile at a time
Moving mulch isn’t nearly as hard
I don’t need as many breaks
It’s a LOT, LOT easier to get up again
My back doesn’t hurt after an hour of working in my gardens
My biggest gardening problem is that I am usually riding my bike or going for a run when I used to be tending to my gardens! Ha ha! Finding the time to weed and enjoy my gardens is more of a challenge. I love the colorful flowers and they make my heart sing!
Do you enjoy gardening? Has your fitness made a difference in your enjoyment? What hobby do you have that has been made easier since you became more fit?
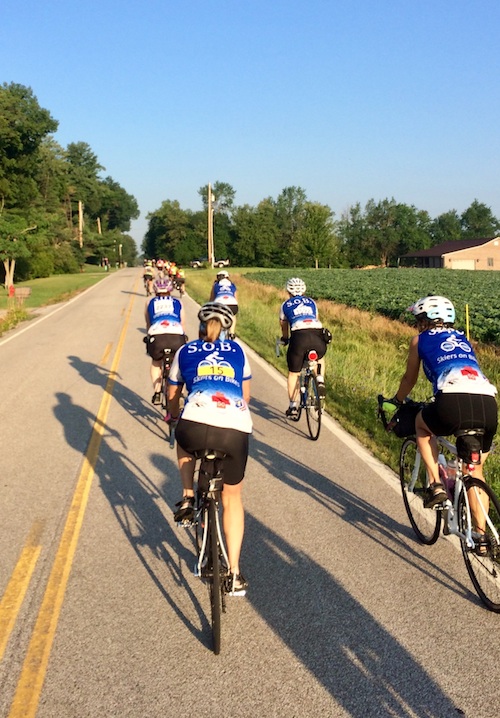
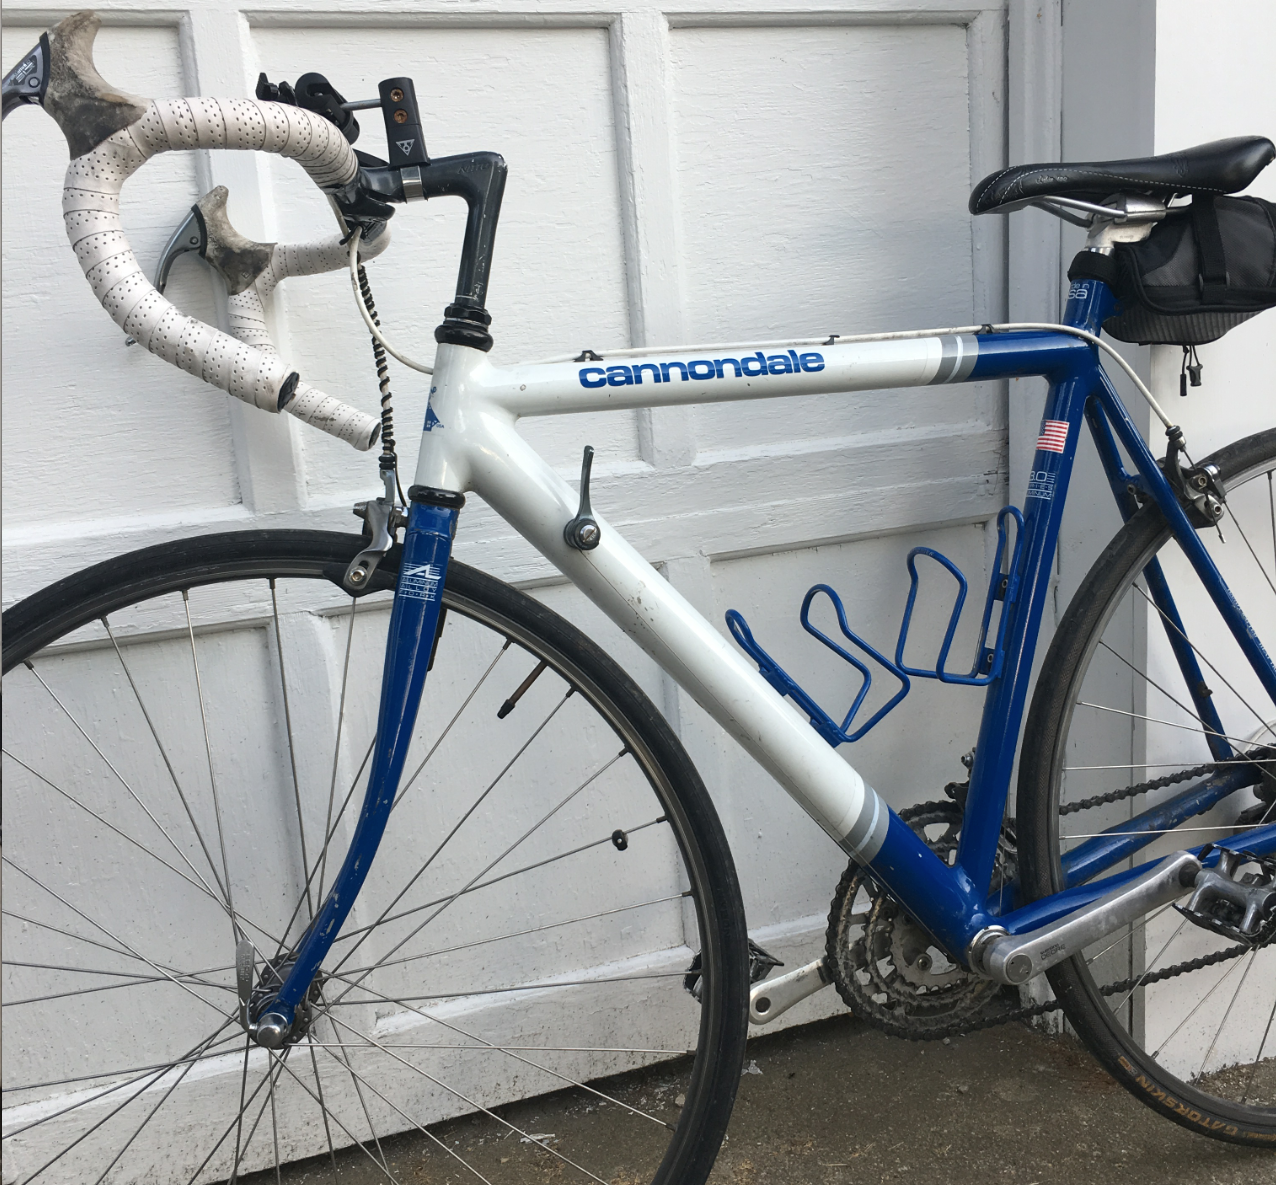
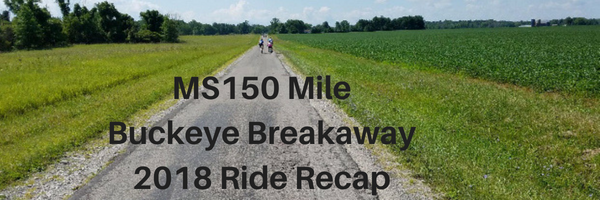
I”m going bike riding today! This is the third ride this week. Tuesday night was the potluck with a large group. Wednesday I rode with a friend of mine and we did hills. Today is a breakfast ride with four other people. We’re going to do the bike trails in a giant loop of around 22 miles.
Wednesday when we were doing hills, I spent quite a bit some time changing gears. If you enjoy riding a street bicycle, you probably have a lot of gears on the back wheel and two or three main ones in the front as well. Learning to shift gears is part of bike riding, especially with hills.
The idea is to keep your legs moving comfortably at a relatively steady rate and compensate for the hill by changing gears. The big circle on the front chain rings is operated with your left hand.
Probably the biggest trick is timing when you change gears. I like to use the momentum from going down a hill to help me move up the next hill, so I don’t like to change too soon, or my legs will be pedaling like mad, but I won’t be going anywhere. If I try to change to late, it’s way too tough to pedal and I may have to even stand up to keep moving up the hill.
That’s where it gets dicey. You can’t put too much pressure on the gears and expect them to shift from one cog to another. The chain may fall off or you may not even move forward.
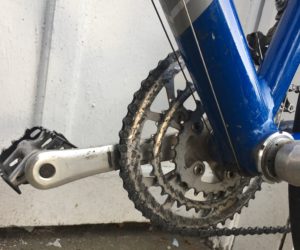
If the hill is really steep, I like to shift all the way to the little front gear called the “granny gear” because I helps me to ride up a really steep hill at 3 mph. Yep. Even super slow, if I’m in the little gear, I can make it up. I might be breathing really hard and fast, but I can get there. I don’t use that gear all that often and it took me a while to figure out how to get into it, but I rely on it when I need it. I have to slightly pedal backwards to get it to move into that little gear in the front.
It’s like that in life too isn’t it!?! Sometimes a tiny step back lets you move forward. Switching gears and making changes at the right time is important. Too soon and you feel like you’re not getting anywhere… even when you work and work and work. Start the transition too late and there is too much pressure to be smooth.
Lots of chain grease from all the times my chain has dropped. You can see that the granny gear doesn’t get near as much use as the other two.
Changing gears under pressure is difficult. Timing the gear changes takes practice. And it takes paying attention! Smaller hills are better to practice on than the big hills. And I find that momentum helps with changes as well.
“It is just like riding a bike!” is a phrase people use when they mean you’ll remember how to do it even if you haven’t done it for a while. While that is true about balancing, I don’t think that gear changing is automatic. At least it isn’t for me. I have to keep practicing my gear changes. In the spring, after a whole winter of not shifting gears, I especially have to practice to remember “left hand big gear changes, right hand little changes on the back wheel gears.”
Now that it is summer, shifting gears is much easier and is a little more automatic.
Even with practice, I still messed up at one point on the ride on Wednesday and my chain popped off. I laughed it off, pulled over to the side and moved the chain back onto the smallest front gear. But since I lost all momentum, I had to walk a bit to get to the crest of the hill. It’s much like life. Too much pressure, wrong timing, and BAM, next thing I know, I have to walk up the hill.
Today I’m going to be mindful of the slope of the hill and try not be chatting too much so that I find myself in the wrong gear at the wrong time. Yeah summer!
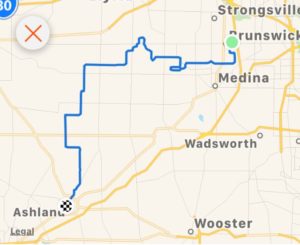
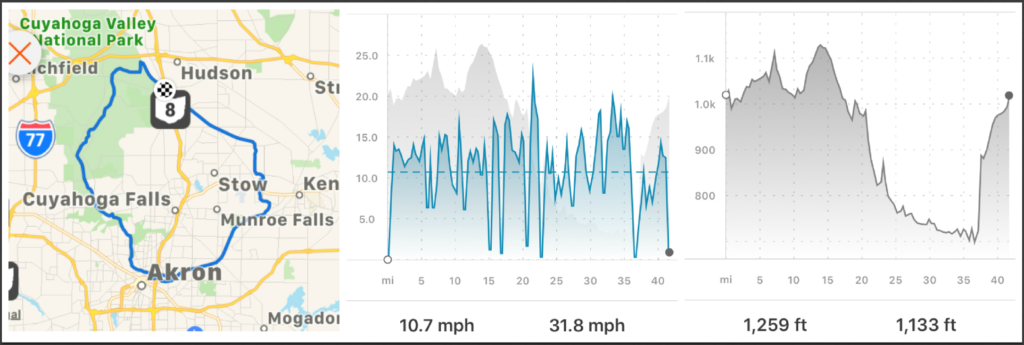
Update: Our planned 22 mile bike ride ended up being 41 miles with a walking adventure! Instead of what we usually call the “Kent loop”, it turned into an Akron/Cuyahoga Falls loop. We averaged about 10 miles an hour and took lots of rest breaks as the temperatures after noon were in the 80’s. I was glad I had two water bottles with me. I’m sure you can tell where we walked the bikes up the hill at the huge elevation rise that felt about straight up. Most of the 41 miles had a nice long elevation drop. It was fun to go on some trails that I had never been on before. The screen shots below are from a bike riding app I use called Strava.
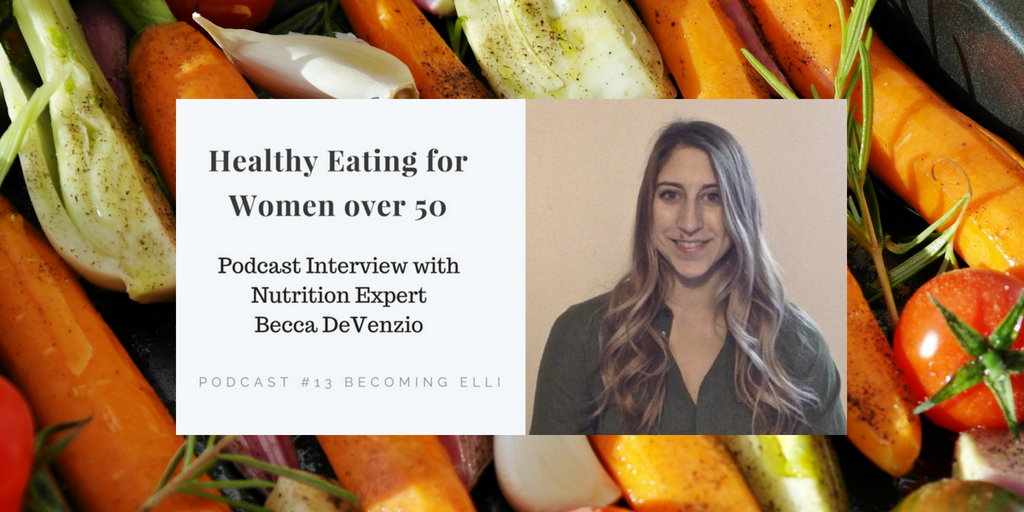
What is Healthy Eating? In today’s Becoming Elli Podcast for fit strong women over 50 Jill and Chris talk with nutrition expert Becca DeVenzio.
Becca is extremely passionate about helping people to reach the goals they set for themselves and believes that living a healthy lifestyle can really change a person’s life.
Her love of fitness and nutrition started at a young age when she began dancing in elementary school. Throughout high school her interest for health continued to grow, so when she started college at Kent State University, Nutrition seemed like a perfect match.
Becca received a bachelors degree in Nutrition with a minor in Health Communication and has recently completed her Masters degree in Nutrition.
In today’s podcast, we discuss Healthy Eating for Women over 50:
How she defines a healthy diet
Well rounded diet of balanced food groups
How she defines mindful eating: not watching TV, watch what you’re eating, paying attention how much you’re eating and listening to body cues
Why she is not a huge fan of the BMI calculator
What is the right mix of protein, fats and carbohydrate
Ingredients that people eat when they eat Mediterranean style
The common issue so many of her client’s have
How she deals with the size of a serving of cooked pasta
What about artificial sweeteners?
Foods that may help combat dementia and promote brain health
How words used on packaging can cause confusion about healthy options
Advertising claims that send up red flags
Why reduced fat or reduced sugar causes other concerns
What to look at when you read the label and what to look for
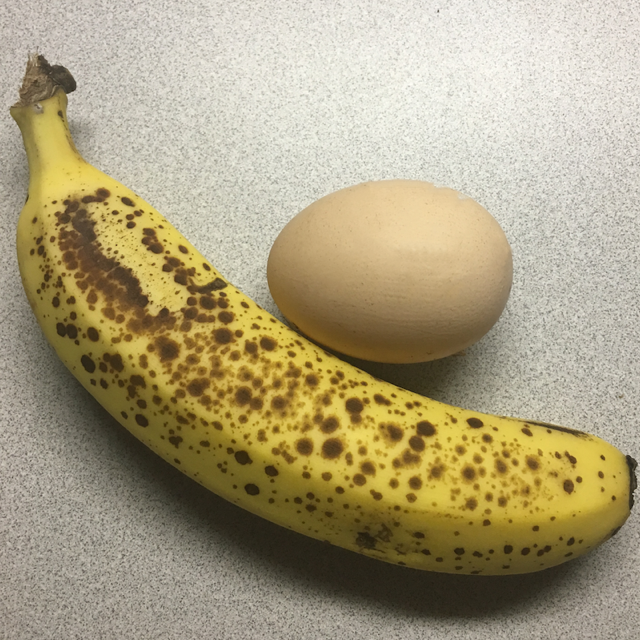
Banana Pancakes
Easy, fast and healthy. Although they taste different than traditional pancakes, some say that they taste more like crepes.
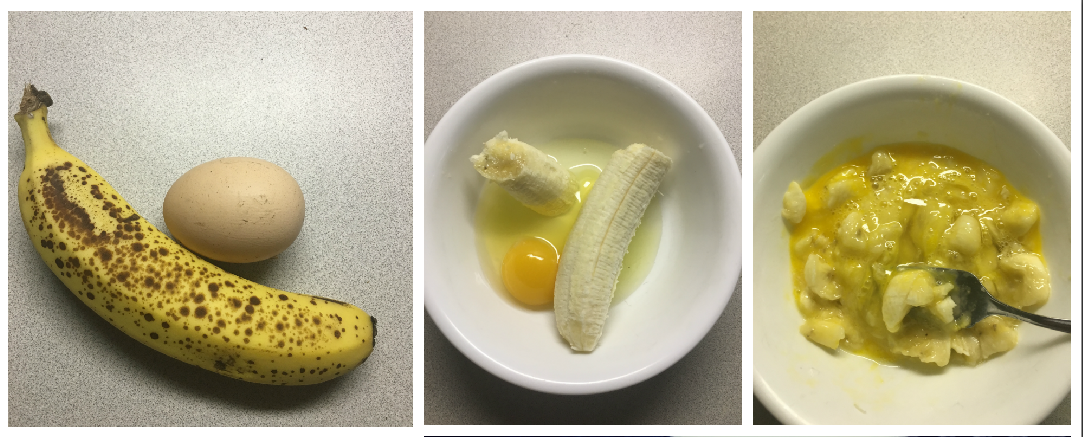
1 egg
1 banana
Mash together egg and banana with fork.
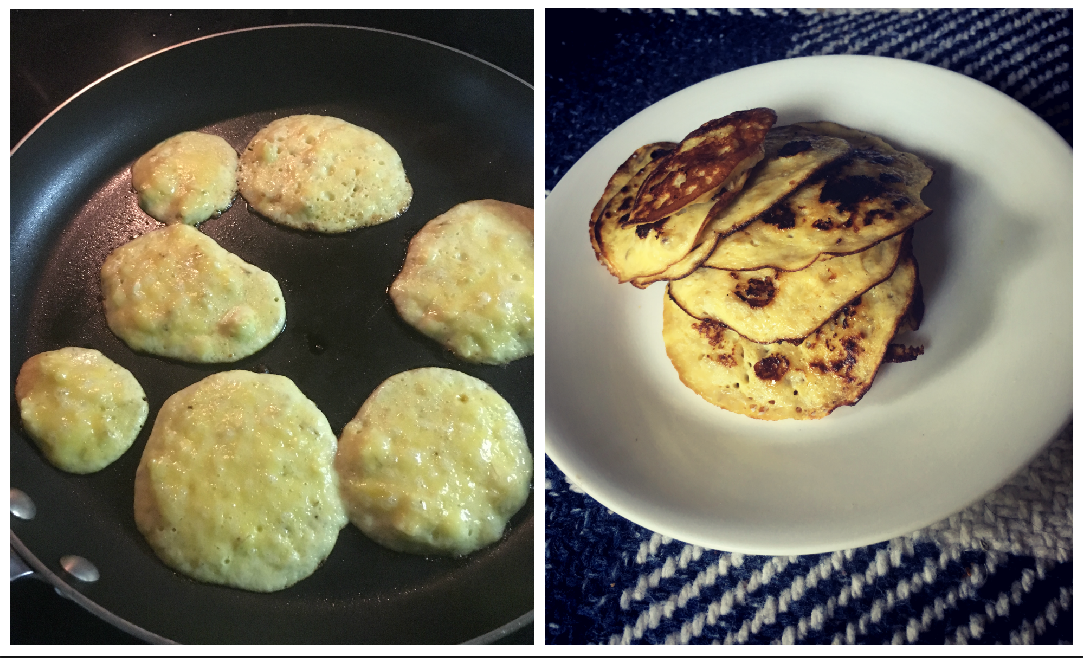
Place a small amount of mixture on a hot skillet.
Don’t make large pancakes as they are more difficult to flip than “traditional”. Keeping them smaller like the size of a quart jar lid will help with the turning.
Get the spatula underneath most of the pancake before you try to flip for better turning results.
Brown and stack to serve.
Options to dress them up and make them your own:
Add a Tablespoon of milk to make it the desired consistency. If you like thinner pancakes, you may need 2 or 3 Tablespoons of milk, depending on size of egg and size of banana.
Or add some honey if you like them sweeter. Honestly, I was surprised how sweet they were with just the flavor of one banana.
Some people like to add a little bit of vanilla, like a quarter teaspoon, for flavor
Top with powdered sugar or maple syrup or jelly. Or another banana sliced up into circles.
Spray olive oil in pan. Or put a tab of butter in the pan. If you use a cast iron pan or teflon, you may not need anything to keep them from sticking.
Want them fluffier? Add a little baking powder to make them rise.
Make sure you cook them through and through, but not too high of heat or they may burn. They cook fast!
You can see that being patient and mashing the banana completely makes for smoother pancakes.
I often eat a banana before working out and fried eggs afterwards, so my stomach is very used to these two foods. It is very rare that I have pancakes. It’s a fun change of pace!
Did you try and like these? Add anything special? Did I miss something? Let me know by leaving a message below or sending me an email at Chris@becomingelli.com.
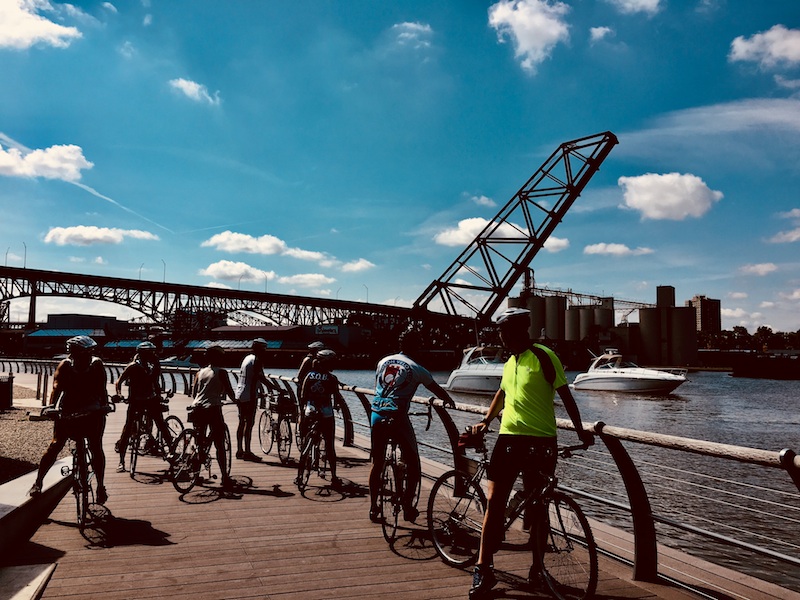
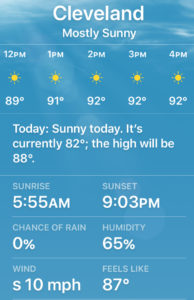
The weather forecast was supposed to be the low 90’s today and my bike group has a long bike ride planned in Cleveland, starting before noon and probably not finishing until well after 4 pm.
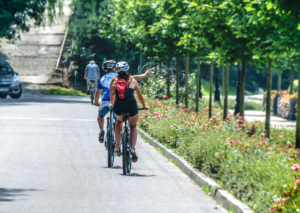
Of course, we won’t be riding the entire time. We’ll be taking photos (there are 3 Cleveland signs on the route) and probably stopping at a marina on Lake Erie for lunch.
Being able to participate in a long day during the heat, without any ill effects, can be a challenge.
Heat gets to me, so I try to do several things to stay cool during summer heat. You probably are doing most of them already. (Some aren’t so pretty.)
Here are my heat tips for bike riding or running a race when it is HOT:
Bring two water bottles and skip drinking the beer. Nothing dehydrates you quicker than alcohol. Refill the water bottles at lunch and ask for ice from the waitress. (Tip well.)
Hydrate well 2 nights prior to the ride or race. Salt my food. Make sure I have magnesium and potassium in food/supplements ahead of time and after.
I use a cooling scarf with gel beads inside. I take it off and dunk it in a cup of water at each aid station during the MS150 ride. It swells when it gets wet, then I tie it around my neck. I move it around so the wet part is around my skin. It’s usually dry by the next aid station.
Wear tech clothing that wicks. Today, I’ll have a bike jersey that is great for not sticking to me. A cotton shirt seems to just stick and will chafe. I also use chafing cream.
I also am not shy about dumping water over my head when it is super hot. (Remove helmet and sunglasses first for best results!)
A baseball cap helps to keep the sun off the top of my head and face. Sometimes getting that wet helps, but I prefer water directly on my hair if needed. My hair isn’t long enough for a ponytail, which would probably be a better look. A baseball cap helps!
Sun screen on my arms – but very little on my face. Sun burn makes the heat worse. Sunscreen on my face seems to block my pores and I can’t sweat correctly. (Anybody have any suggestions?) I know I probably should protect my face more, but I have overheated from using sun screen on my face. I recently read that you shouldn’t use sunscreen over 50, but the article didn’t explain why. Does anyone have an idea about that?
I have an insulated Nathan water bottle that I freeze the night before so as it melts, I am sipping ice water. I’m going to put it on my belt where I store my epipen.
I usually drink electrolytes during a race, usually as Gatorade. Some people use Tailwind, but I haven’t tried it yet. Others use Powerade, depending on what the race or aid stations have. I’m not sure how I’m going to deal with this today. I haven’t bought any salt tablets, but I know that some people do.
Pickle juice helps with the salt when I’m bike riding and they often have it at the aid stations but, I’ve never seen it at a run however. Maybe I will see if I can get a pickle or two with my sandwich at lunch.
Aim for the shade when and if possible. Today’s ride will be mostly in the sun.
Slow down as necessary. (I’m already pretty slow.)
Getting electrolytes back in me and cool down inside the core with something like ice really helps
Have you ever had heat problems? Sometimes it’s called heat exhaustion or heat stroke. It starts out just being hot, but progresses to when your face is incredibly red and you are way overheated. I’ve had it and don’t want to repeat it. In fact, I have gotten it when it has progressed to the chills. Definitely time to “call it.” Sure sign of a heat problem. No amount of pickle juice helped at that point!
It was on a bike ride in pure sun when it was just too hot (around 88 degrees and 3pm!) Most of the bike ride was behind me. Luckily there was already something in place during that ride called a SAG (support and gear) which is a van that has a bike rack ready to give any bike rider needing assistance a ride with their bike to the next aid station. Although I missed the last 15 miles or so of a 65 mile ride, it was much better to do that than have a REAL problem.
If you are having a problem with the heat, I believe it is NOT a time to try to try to suck it up, try feel better and keep riding! If you have heat problems, don’t try to tough it out! If you’re really faced with a heat problem, your brain stops working correctly and you can’t make decisions well. Ride with people you trust and trust your friends when they say you need to take care!
PS. I just checked the forecast and it has changed from earlier in the week for the better. Looks like we have beautiful high 80’s for the riding today in Cleveland Ohio – MUCH BETTER riding weather! May try to swing by the Cleveland Jazz Festival and listen to some great music too! It’s free down near Playhouse Square today!!
Tell me, how do you handle exercise during summer heat and still have fun with outdoor activities?!
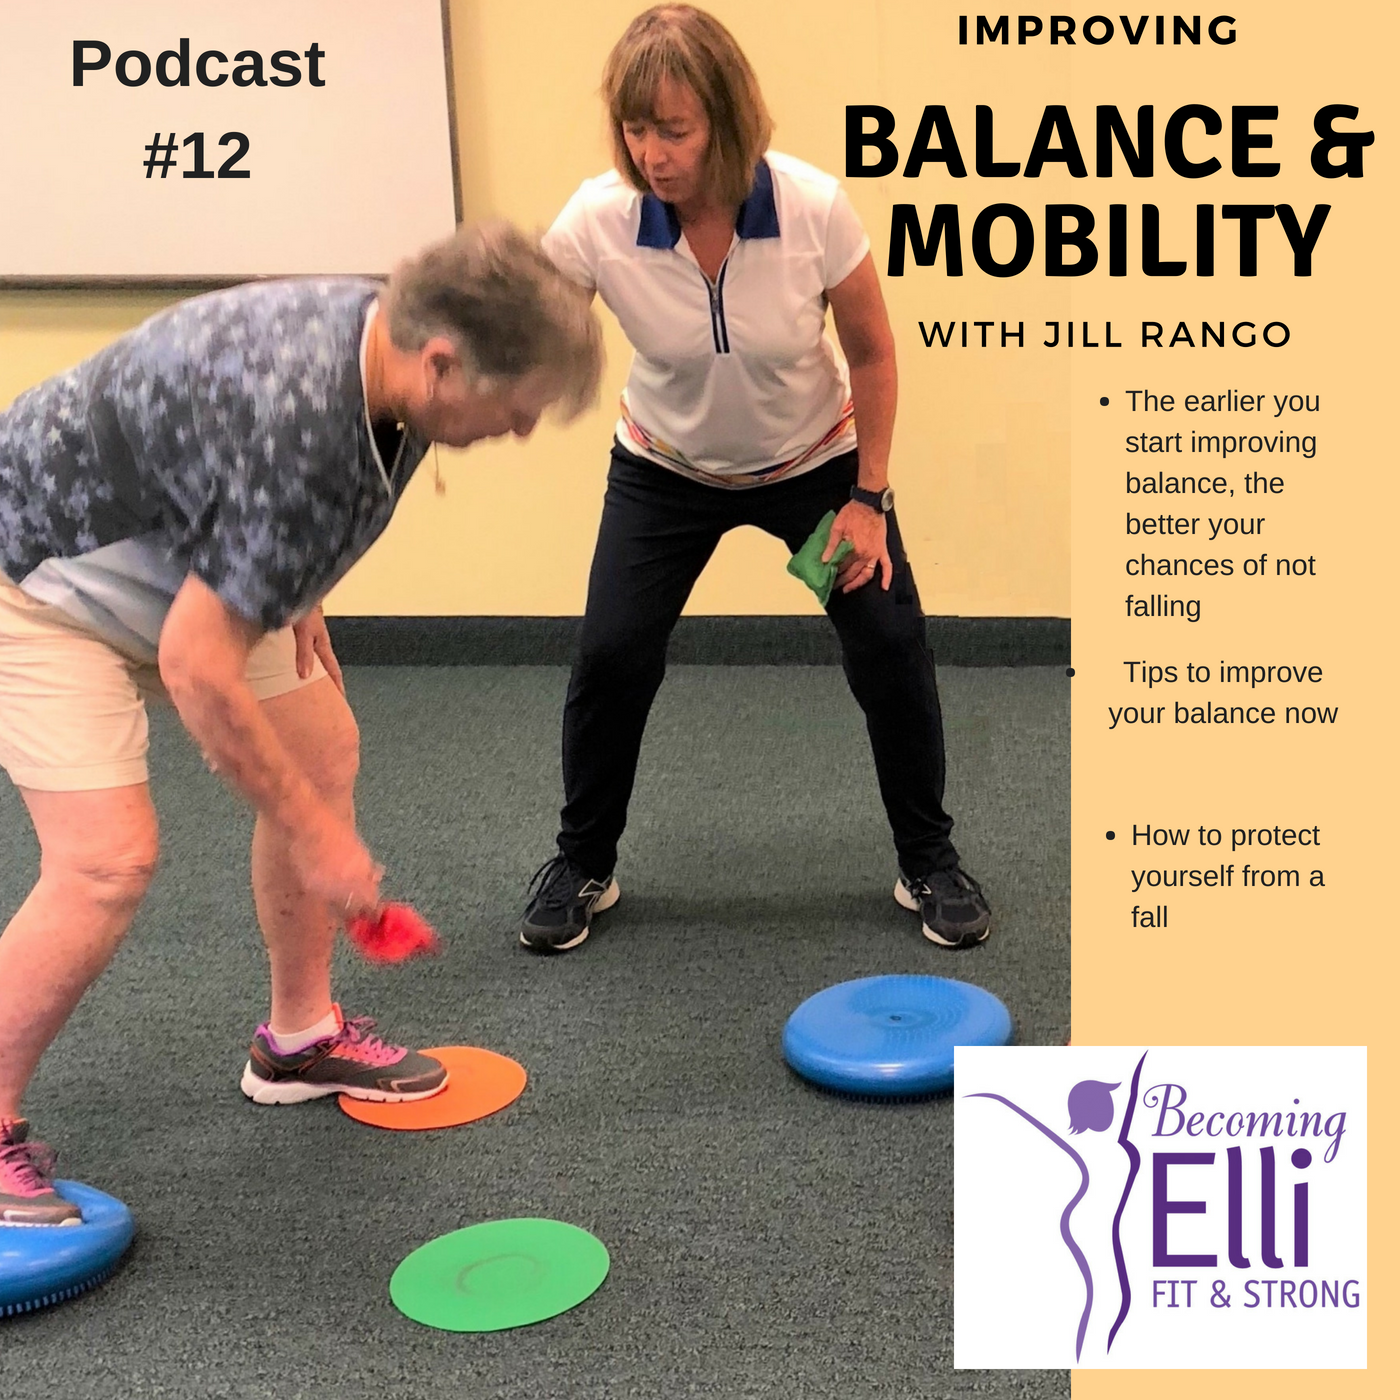
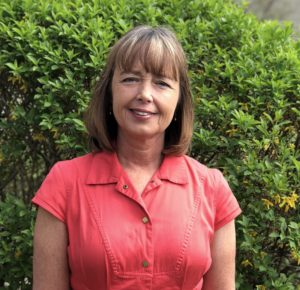
Jill McCauslin and Chris Brown talk with Jill Rango, a balance and mobility expert, on Episode 12 of the Becoming Elli Podcast.
She became a FallProof certified instructor in 2009 from the Center for Successful Aging, developed by Dr. Debra Rose, who was recognized by the National Council on Aging as one of seven programs nationwide that promotes a healthy, active lifestyle.
“It is never to late to improve your balance… and it’s never to early to start working on your balance.”
Jill Rango gives us tips to improve our balance, flexibility and mobility that can make such a big difference in helping us to keep from falling.
Lighting and Vision
Difference in surfaces
Mobility – walking is controlled falling
Balance and strengthening on both left or right legs
Fear of falling during the last third of life
Situations with medications, vision, the home and exercise
Resistant equipment for balance- bands, free weights, tubes, water
Flexibility training for ankles, hips and spine
The one common activity that is great for heart, lungs, frame of mind, but does NOT improve strength and balance
Common posture problems and how to make some easy changes
Every inch of head forward puts 10 pounds of pressure on your spine
One traditional exercise that instantly and easily improve balance
How fear of falling puts you at risk for falling
Why you should consider hiking with roots, rocks and things you need to step over
When to walking like a penguin is a good idea
Jill Rango, Balance & Mobility Expert and FallProof Certified Instructor
Jill Rango received a B.S. in Therapeutic Recreation from Kent State University. After five years as an activity director in a skilled nursing facility, she decided to pursue a career in fitness. Certified by the American Council on Exercise as a group exercise instructor in 1986 and as a personal trainer in 2005, she taught classes and did personal training until 2008.
Then she combined her love for fitness with her enjoyment of working with older adults. When she realized what a problem falls were, she became certified as a FallProof balance and mobility instructor in 2009, teaching small group classes and working with individuals on preventing falls and improving balance and mobility.
Now retired from Laurel Lake Center, Jill teaches classes at St. Mary Catholic church in Hudson, Ohio which are open to the public, personal trains, and does speaking on the subject of better balance to interested groups.
She and her husband Richard live in Silver Lake and enjoy visits with their four children and five grandchildren.
Jill Rango may be contacted with questions at rangojill44@gmail.com.
Once a year I play softball, hop around inside a burlap sack, try to run/walk with a partner with one of our legs in a sack, play crochet, and race to the other side while balancing an egg on a spoon.
You got it! This Saturday is a family reunion.
All different ages and generations gather together. It’s a blessing to have such a big family.
It’ll be a time to catch up and reconnect. We will play corn hole. bocce ball, badminton and horseshoes.
I’m glad that my fitness level is strong enough to participate in the games without worrying about killing myself.
I didn’t used to be like that. In fact the other day, I ran across a photo of myself taken years ago at one of the family reunions, before I started really focusing on getting fit and strong. Notice the diet coke can in one hand, camera in the other. It took a long time to quit my diet coke habit and now it really gives me a stomach ache if I drink even a small amount.
Because I felt too out of shape to join in the games, I spent a lot of time going back up to the food table and yes, I felt like I’d gain about 3 pounds in one day.
Of course the family reunion always involves a whole lot of food and usually a huge landscape of high calorie choices.
Pasta with meatballs, pizza, fried chicken, and all kinds of desserts – cake, cookies, brownies, jello-pretzel-cool-whip and fluffy stuff that I don’t know what’s in it except sugar and sweetness. Nary a veggie tray with carrots, celery, broccoli and cauliflower to be found, but that is because everyone brings their most delicious dishes.
Believe me, it’s tempting to overeat. Today I’m going to try to remember all the good strategies for dealing with the food that we’ve discussed in the podcasts.
I’ll spend my time playing games and talking with people I haven’t seen since last reunion.
When it is time to eat, I’ll try to remember the tricks Melanie and Nancy shared with us for not over eating.
Survey the table completely before putting anything on a plate.
Include fresh veggies, whole food choices when possible.
If I really want something that has lots of calories, I’ll take a tiny size portion.
Meanwhile I’ll be drinking lots of water, so I don’t eat when I’m really thirsty. It’s been so very hot lately, I’ve been drinking more water than usual, so that’s a good tip anyway! Gotta make sure I have salt in my diet too.
Chicken Quinoa Tomato Salad
Today, I’m making a new healthy salad recipe and I thought I write it up to share it on Becoming Elli while I’m making it this morning.
First, I prep the salad ingredients for my Chicken Quinoa Tomato salad.
Baste 4 chicken breasts in salt water for one hour. Rinse off and put on a cookie sheet to bake for 40 minutes. (I put the oven on 400, but I suspect my temperature gauge is slightly off.) The salt water locks in the moisture in the chicken so it doesn’t dry out.
Slice several red peppers into strips.(Four nubs on the bottom are females, three are male. The female peppers are supposedly sweeter with less seeds.) Coat with olive oil. Roast in oven for 30 minutes.
Cook 2 cups of quinoa in 4 cups of water for 15 minutes. Take off heat. Fluff with fork. Put lid on for 12 minutes. Fluff with fork.
While the chicken and peppers are roasting and the quinoa is cooking, chop up all the veggies:
Cut 2 pints of grape tomatoes in half.
Dice half of a small Vadelia onion.
Cut a cucumber into strips and dice.
Cut 3 stalks of celery into strips and dice.
Dice up a small handful of fresh basil
Combine ingredients in a large bowl.
Zest 2 lemons. Squeeze juice over veggies.
After chicken and red peppers have cooled a bit and cut into cubes.
Allow quinoa to cool. Fold everything together in the big bowl. Salt and pepper to taste.
Transfer to a smaller serving bowl if desired.
I am a slow cook, so it took me a while to get this all done.
But now that the salad is ready, I’m really looking forward to seeing everyone at the reunion and having some fun!
Have you noticed people running and biking with kinesiology tape on their legs, ankles, knees or shoulders? Ever wondered if it works?
After I noticed people with tape, I was curious. Does it work? Does it hurt? How do you put it on?
In my experience, it makes a HUGE difference to my recovery and prevention.
When I’m going on a run, I like to have my right Achilles tendon taped with kinesiology tape. I don’t always use it on a bike ride, but I do if there are hills.
Kinesiology tape helps to increase the blood circulation and reduce inflammation for faster healing. I find that it works well for preventing new flare-ups.
The tape stretches like an elastic, so it moves as you move. It lifts the skin and makes a space between the dermis layer and the muscles which takes some of the pressure off and helps with drainage and blood flow.
I was taped for the first time a few years ago. A friend of mine, who had just taken a course on kinesology taping, asked if she could tape my calf and ankle. She acted like I would be doing her a favor by letting her practice on me. We had just taken a long, strenuous bike ride up some serious hills, so I jumped at the chance to see if it made a difference. In the next few hours, as we enjoyed a post ride beer and chatted, I honestly didn’t notice anything at all.
But the next morning, I remember waking up the next day being AMAZED at how great my Achilles felt!
Instead of being stiff and sore like it usually was when I put my heal to the ground, it didn’t feel like anything. It felt totally normal, without anything. And this was after a very strong, long bike ride with some big hills.
Since then I have learned to tape my own Achilles tendon.
Here’s what I do when I apply tape.
Before applying the tape, cut the lengths you want from the roll. I use one long one (about 8 inches) and one short one (about 4 inches).
You’ll want to round the corners (I didn’t in my photos, but I should have!) Square corners cause snagging. Socks, pants etc. will snag on the corners of the tape when you change clothes and it will start to peel.
The anchor points of the tape need to have NO stretch. The middle parts of the tape should stretch. Each brand seems to suggest a slightly different amount of stretch from 50% to 80%. It’s a guesstimate. They all agree on no stretch at the anchor point. The way you get a percent is stretch it 100% and then back off from there.
To apply the tape for Achilles, you want to do the dorsiflection to get your toes are pulled up toward the shin and knee. This stretches your Achilles tendon long, otherwise the tape will tend to pull off as you walk.
Apply the long tape first, starting at the heel as the first anchor. Peel off the backing from the tape, Attach the tape to your heel. Rub it down.
Peel the backing off the long piece. Stretch it and back off, but don’t attach the long piece to your calf just yet. Peel the top anchor section. Touch the top anchor to the calf and apply with NO tension. Attach the rest of the tape and rub.
Before applying the strip of tape across, you will score the paper backing in the middle. Then tug with both hands to split the paper backing. This allows the stretch of the tape in the middle.
Go across the lump – the painful part of the Achilles. The shorter piece goes across the most painful area to help provide relief to the most tender section. For me it is right where the little lump is just above the heal, just about where the back of my shoe ends.
Give a good rub to activate the stickiness
I recommend taking the time to make the nice rounded corners. (Do as I say, not as I do!) Rounded corners keeps the tape from catching on clothing or when taking socks on and off. I like to roll my sock over the tape.
When I was traveling on vacation, I brought two sets of pre-cut tape with me. I didn’t want to bother with carrying scissors.
You can get the tape wet in the shower, however some brands work better than others. I have used several different brands and there is a difference. KT tape seems like the highest quality but also the price. I’ve also used RockTape, Spartan tape and something I bought on closeout from Amazon. Prices range for rolls from $20 for 16 feet to $7 for 50 feet. You get what you pay for… You can also buy it in precut strips which is very convenient, but of course, costs a little more.
Over the past couple of years I have purchased and used different brands and types. Here is my experience with them:
KT Tape Original Cotton Elastic Kinesiology Therapeutic Sports Tape
$9.95 for 20 Pre cut 10 inch Strips, Breathable.
Feels the best on my skin. I think it works the best. KT also has great videos on how to wrap:
RockTape Kinesiology Tape for Athletes, Water Resistant, Reduce Pain and Injury Recovery, 180% Elastic Stretch, 1 Roll, 16.4 Feet
$16.24 Lifts well, stays on well and doesn’t irritate skin my skin. Good stretching. RockTape Application PDF helps explain how to apply – where and why.
Spartan Kinesiology Tape Perfect Support for Athletic Sports, Recovery and PhysioTherapy
Uncut 2 inch x 16.4 feet of tape with a printed Kinesiology Taping Guide. (Here’s their 41 page guide.) Works pretty well, stays on for about 3 days.
about $9.95 on Amazon.
MetaTape Kinesiology Tape, Roll
2 rolls of 2 in. x 25 ft. Uncut $6.95 by Meta Fitness Gear. This was on close-out on Amazon.
Can’t beat the price, but the tape doesn’t stick very well and the tape just isn’t as effective in lifting the skin.
Athletic tape from a bin in Play It Again Sports. No brand name, just shrink wrapped tape. No paper backing, No stretch. Less than $3.00 for a roll.
Not at all the same thing. Don’t be confused. It gives ankle support, which is great if you feel like you’re likely to sprain an ankle, but it doesn’t move with you and seems like the opposite effect. I used to tape my ankle years ago after it healed from a sprain to give me support when I was doing an activity.
Depending on the brand of tape and how many showers I take, it can last up to 4 days before coming off. I have noticed that the MetaTape may not even last one day.
Back in 2006-7 when I was first going to physical therapy, they only used the regular athletic tape. So I used to use that to give my ankle support. Athletic tape is not the same thing as kinesiology tape.
These tapes have a backing on them which helps in the application. You cut the pieces first, and you don’t wrap the ankle to keep it stiff. The idea is to lift the skin away from the underlying tissue and muscle slightly. This allows the fluid and blood to move more easily.
Kinesology Tape Aesthetics
Tapes come in many colors and some even have prints. On race day, it’s nice to coordinate with your outfit if the tape will show. (ha ha!)
Day to day, taller socks or slacks helps to cover it. In fact, using compression socks can help with the calf tightness which is the actual cause of the Achilles problem for me.
I don’t just use it for running, riding or working out. I like to dance at weddings, but when there is that much sitting before the band starts. (and sometimes a long drive in the car before and after.) I know that there isn’t an opportunity to do my stretching routine before getting up to dance. I like to have tape on my ankle before getting up on the dance floor, but don’t want my tape to show. A bit awkward when wearing a dress, but if you wear a long dress, or if you can wear dark tights, it solves the problem.
Yesterday I did 6 miles of running with a lot of hills in the Cleveland Metro parks. Of course, I taped up before I ran. And today, I’m happy to report, my Achilles is doing very well.
Have you ever tried Kinesiology Tape for recovering from tendon pain or preventing an injury? Let me know what your results have been.