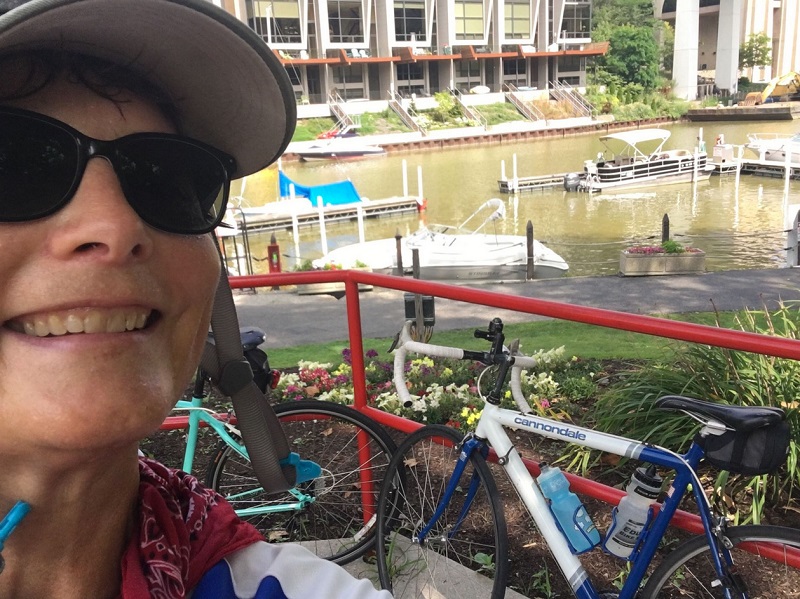
It took me a while to really love-love-love bike riding. There was a lot I had to “get over.”
Of course I had to work on my stamina, endurance, and muscles, but that’s not what I’m referring to! Like everything else with exercising and having fun, when I started bike riding, I had to “get over it.”
The helmet hair. Socks with sandals. Lycra spandex bike pants. Funny form fitting shirts with pockets in the back (most of them meant for guys, not women.) Weird sun tan lines around my eye from wearing sun glasses. Self doubt if I could keep up. Lots of laundry with sweaty bike clothes.

It was definitely outside my comfort zone. Along with the new “get over it” mind set, I had a lot to learn!
- How to get the chain back on my bike if it falls off – without getting my fingers all dirty.
- How to change a tube from a flat tire.
- The best way to put the bike on a bike rack.
- How to stuff my bike inside my car so I don’t have to mess with a bike rack.
- How to take a wheel off — and how to get it back on – quickly.
- Pump up the tires. ETC. ETC!
- There are lots more, but I’m still learning.
Now that it is the second weekend in April, I feel like it’s time for me to be bike riding already. I was disappointed that this morning featured a covering of snow on the ground again. While 40 degrees (scratch that, it’s actually 27 degrees), doesn’t seem terribly cold, if I was riding my bicycle along at 12 miles an hour, believe me, the chill would go right through me!
So, I’ll satisfy myself with just writing about bike riding. I know this cold weather snap won’t last forever and I want to be ready when it’s time to get out there and go.
Here are the things I’m doing to check my bike and equipment to get ready for the season:
1) Tires – I like to pump my tires up to the 90 to 100 PSI range. I ride a street bike that has skinny tires. That pressure level seemed too high to me at first, especially since I was used to car tires at 32 PSI. But I’ve found that low tires means that I go much slower, not to mention that low pressure is more likely to result in a flat tire after a nasty bump or pothole. (Not that I aim for potholes or anything!)
I’ll check the wear on the tires and the number of miles I’ve put on them. I’m going to check that my seat pack has a spare tube and a canister of CO2. And double check that I have the two tools I need, the CO2 attachment and the little plastic tampon-looking tool to get the tire off the rim.
2) Chain – My chain was replaced last season, but I want to oil it up again. At the end of the season I made sure it was lubricated before I put it away, but because it is stored in our unheated garage all winter, I think it’s a good idea to double-check that it’s in good shape.
When the chain starts to go it can effect the teeth on the cranks, which is an expensive thing to replace and not something I want to take on. Too much oil on the chain ends up giving me a bike riding “tattoo” since I tend to put my right foot down and the bike leans right onto my calf when I stop. (Another thing I had to get over.)
3) Derailleur – This involves looking at the cable that moves the gears on my bike, all the way down to where the crank meets the chain. A frayed cable is a bad sign. I remember one ride when I thought I’d have to SAG in after my rear derailleur cable broke, but luckily there was a bike shop supporting the riders and they had me back on the road in about 10 minutes. Amazing when you know what you’re doing for fixing a bike! If I tried to change it, that would have taken all afternoon and I’d end up taking it to the bike shop anyway in frustration!
4) Brakes – Are the brake pads worn? Nothing more important than stopping when you need to and worn brake pads are not something I expect to find.
Typically I don’t use the brakes much. It’s not like driving a car. When I’m riding, I usually slow down and just tap the brakes when I need to stop. But from time to time, there is a need to stop fast and I want to make sure the brakes are there when I need them.
5) Spokes – A loose spoke means trouble – the wheel isn’t going to roll smoothly. To check this, I turn the bike upside and ping each spoke listening for a different sound (too low typically) that signifies a loose spoke.
6) Helmet, mirror and flashy-blinky lights – Safety is critical on a bike. The mirror helps me see other bikes and drivers, but the flashy-blinky lights helps other people see me. I like to use the mirror that attaches to the glasses.
I take a look at the battery in the lights and buy a new set of batteries for the upcoming season.
And the helmet… well, I hope I never really need it! Although it has already saved me a trip to the ER once already. I fell over at a simple stop and clunked my head on a piece of concrete. Nothing happened, but if I hadn’t had my helmet on, I bet I would have needed stitches. I jumped up quickly and the other people I was with didn’t even realize I fell over.
7) Bike pants – Last season I invested in a new pair of bike shorts to replace my favorite pair that became “see through.” I still have two other pairs that are usable. Sometimes I don’t have time to do laundry between a Friday morning spinning session and a Saturday morning bike ride, so choices of bike pants is a good thing. Plus I don’t want to have another situation of “see through” pants and not realize it!!
8) Bike shoes – My go to choice for bike shoe are actually sandals from Nashbar. They have 3 adjustment points so they fit! And the open toes are nice for not getting sweaty feet. I adjust the clips so it’s quick and easy to unclip when I’m stopping. You can tell which foot I put down to stop, because that’s the shoe that gets worn. My only issue with these sandals is the nubs on the bottom. It’s too much for my sensitive feet, so I do the unthinkable – wear socks with my sandals. (I got over that one quickly. Comfort over fashion for me!)
9) Bike water bottles – I like the kind that fit snugly in my water bottle holders. They need to also have a soft opening for drinking that doesn’t hurt my lips/teeth. The top has to open and close quickly. And not leak. Or at least, not leak very much. I hate it when a water bottle splashes on my legs when I hit bumps!
I may need to invest in a couple new water bottles this year as the old ones either have the wrong lids or the lids got lost in the bottom of the Tupperware cabinet.
10) Psych myself UP– This is the reward after doing all the other 9 steps of preparation! Getting psyched for bike riding is the best feeling! I’m going to take a look back at the rides recorded on my Strava account from prior years and remember all the fun times we had. l love dong this because it gets me really psyched up for another season. Maybe I’ll plan a few new routes. It’s so fun to look through the best ones from other years.
I’m going to plan on taking more spinning classes at the gym for the next month or so. This will help me to build up my muscles for the season so I can focus more on all the stuff that happens when I actually go outside. Things like: balancing the bike, looking out for potholes, other bikes, cars and changing gears on the bike.
After all my checklist for getting the bike ready for spring, I’ll take it to a bike shop too and have them look it over too. Not many bike shops enjoy working on my bike. My bike is vintage – it’s a Cannondale 53″ made in from 1988. While the gears still shift on the frame instead of the handlebars, I really love this bike.
Do you have anything that you had to get over in order to really enjoy yourself in an exercise activity? Are you a bike riding enthusiast? What did I leave off of my checklist?
Leave a message below or send me an email – [email protected]. See you out on the bike trails!

Wow, you know so much! I’m a total newbie when it comes to taking care of a bicycle. I guess I’d better start learning if I’m going to ride my bike much.